お手入れ方法
植え替え時期を知らせる4つのサイン:
根がグラグラしている、葉の色が薄くなっている、成長が止まっている
植木鉢の底にある排水穴から根が伸びてきている
植木鉢に比べて植物が大きすぎて倒れやすくなっている
水やりをした時に、土の中に水が浸透することなく、鉢底から流れ出てしまう
3つの植え替え方法
ひとまわり大きな鉢を使う 鉢の中いっぱいに根が広がり、成長するスペースががない植物に適しています。
土だけ新しくして同じ鉢に戻す 大きくしたくない植物に適しています。
土の表面を入れ替える 植え替えが難しい大きな植物に適しています。表面の土を取り除き、新しい土に替えます。
植物の大きさにあった鉢を選ぶことが重要
新しい鉢は、今まで使っていた鉢よりも、ひと回りからふた回り大きい鉢を選んでください。大きすぎる鉢を選ぶと、水やりをした時に新しい土が乾ききらず、土の中が常に湿っている状態になってしまい、呼吸ができなくなります。
おすすめの土
今まで使っていた鉢よりも、ひと回りからふた回り大きい鉢に植え替えてください。
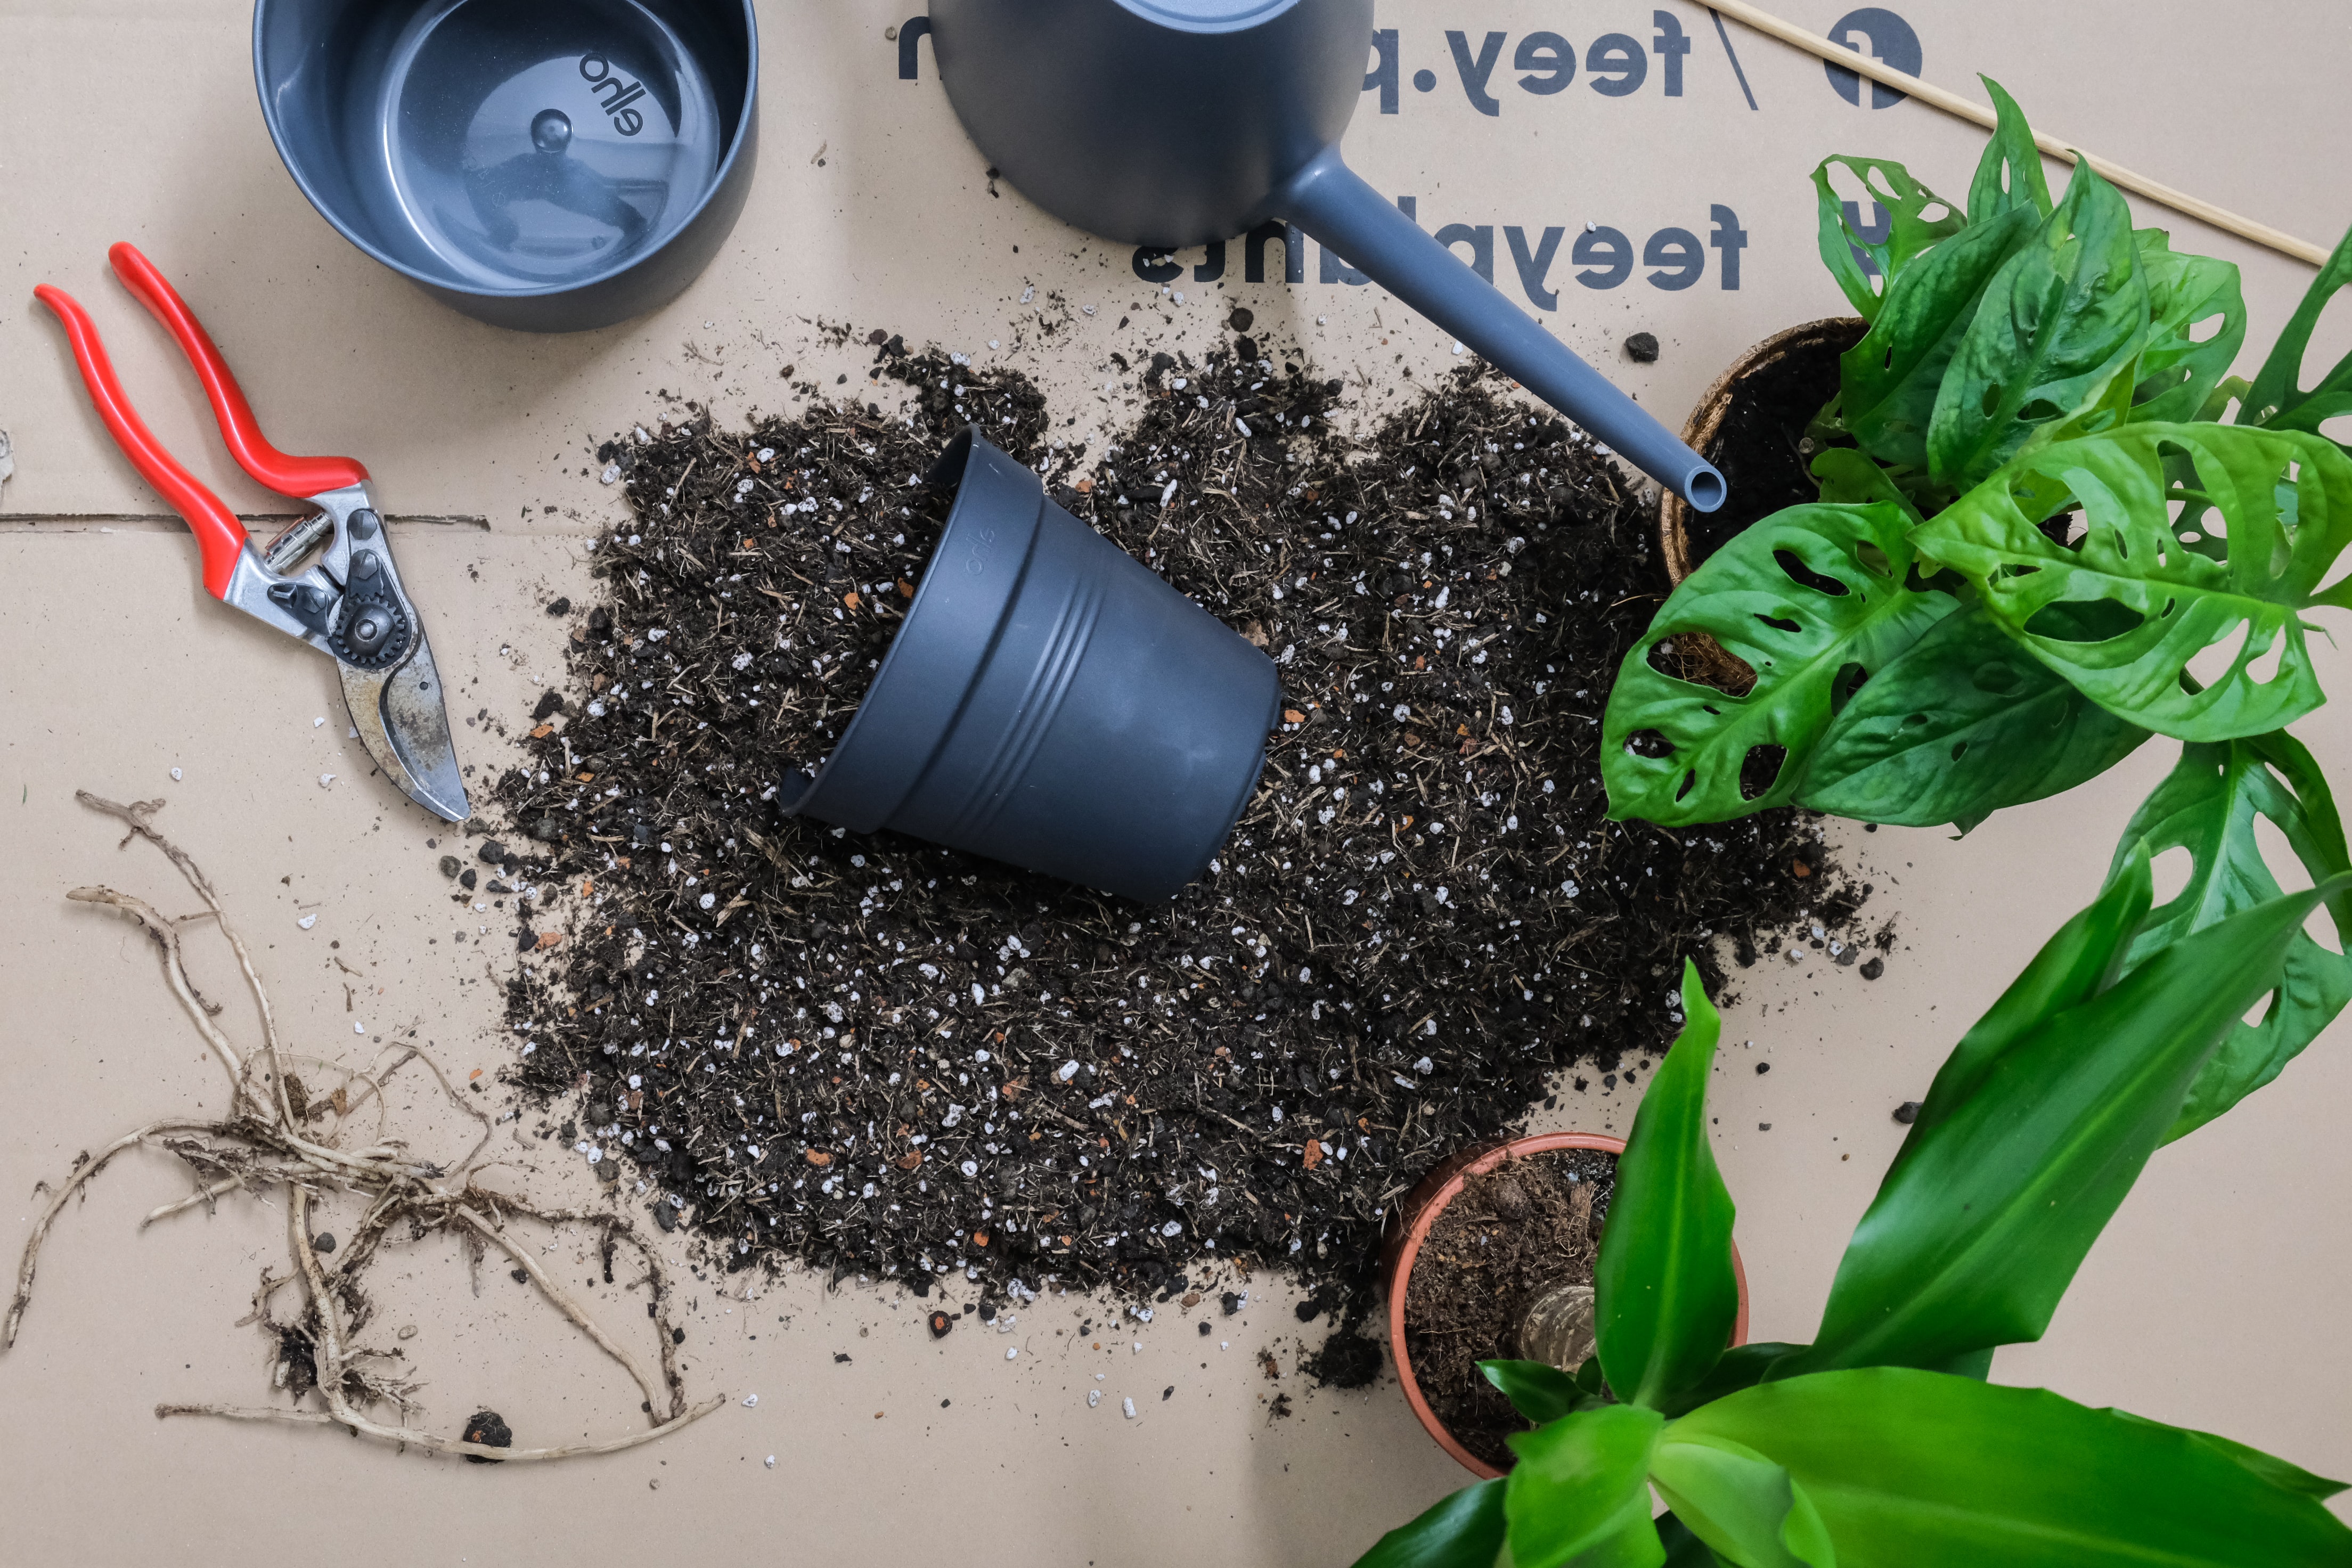
植物の植え替え方法9ステップ
植物に水をやる 土がほぐれやすくなるように水やりをします。
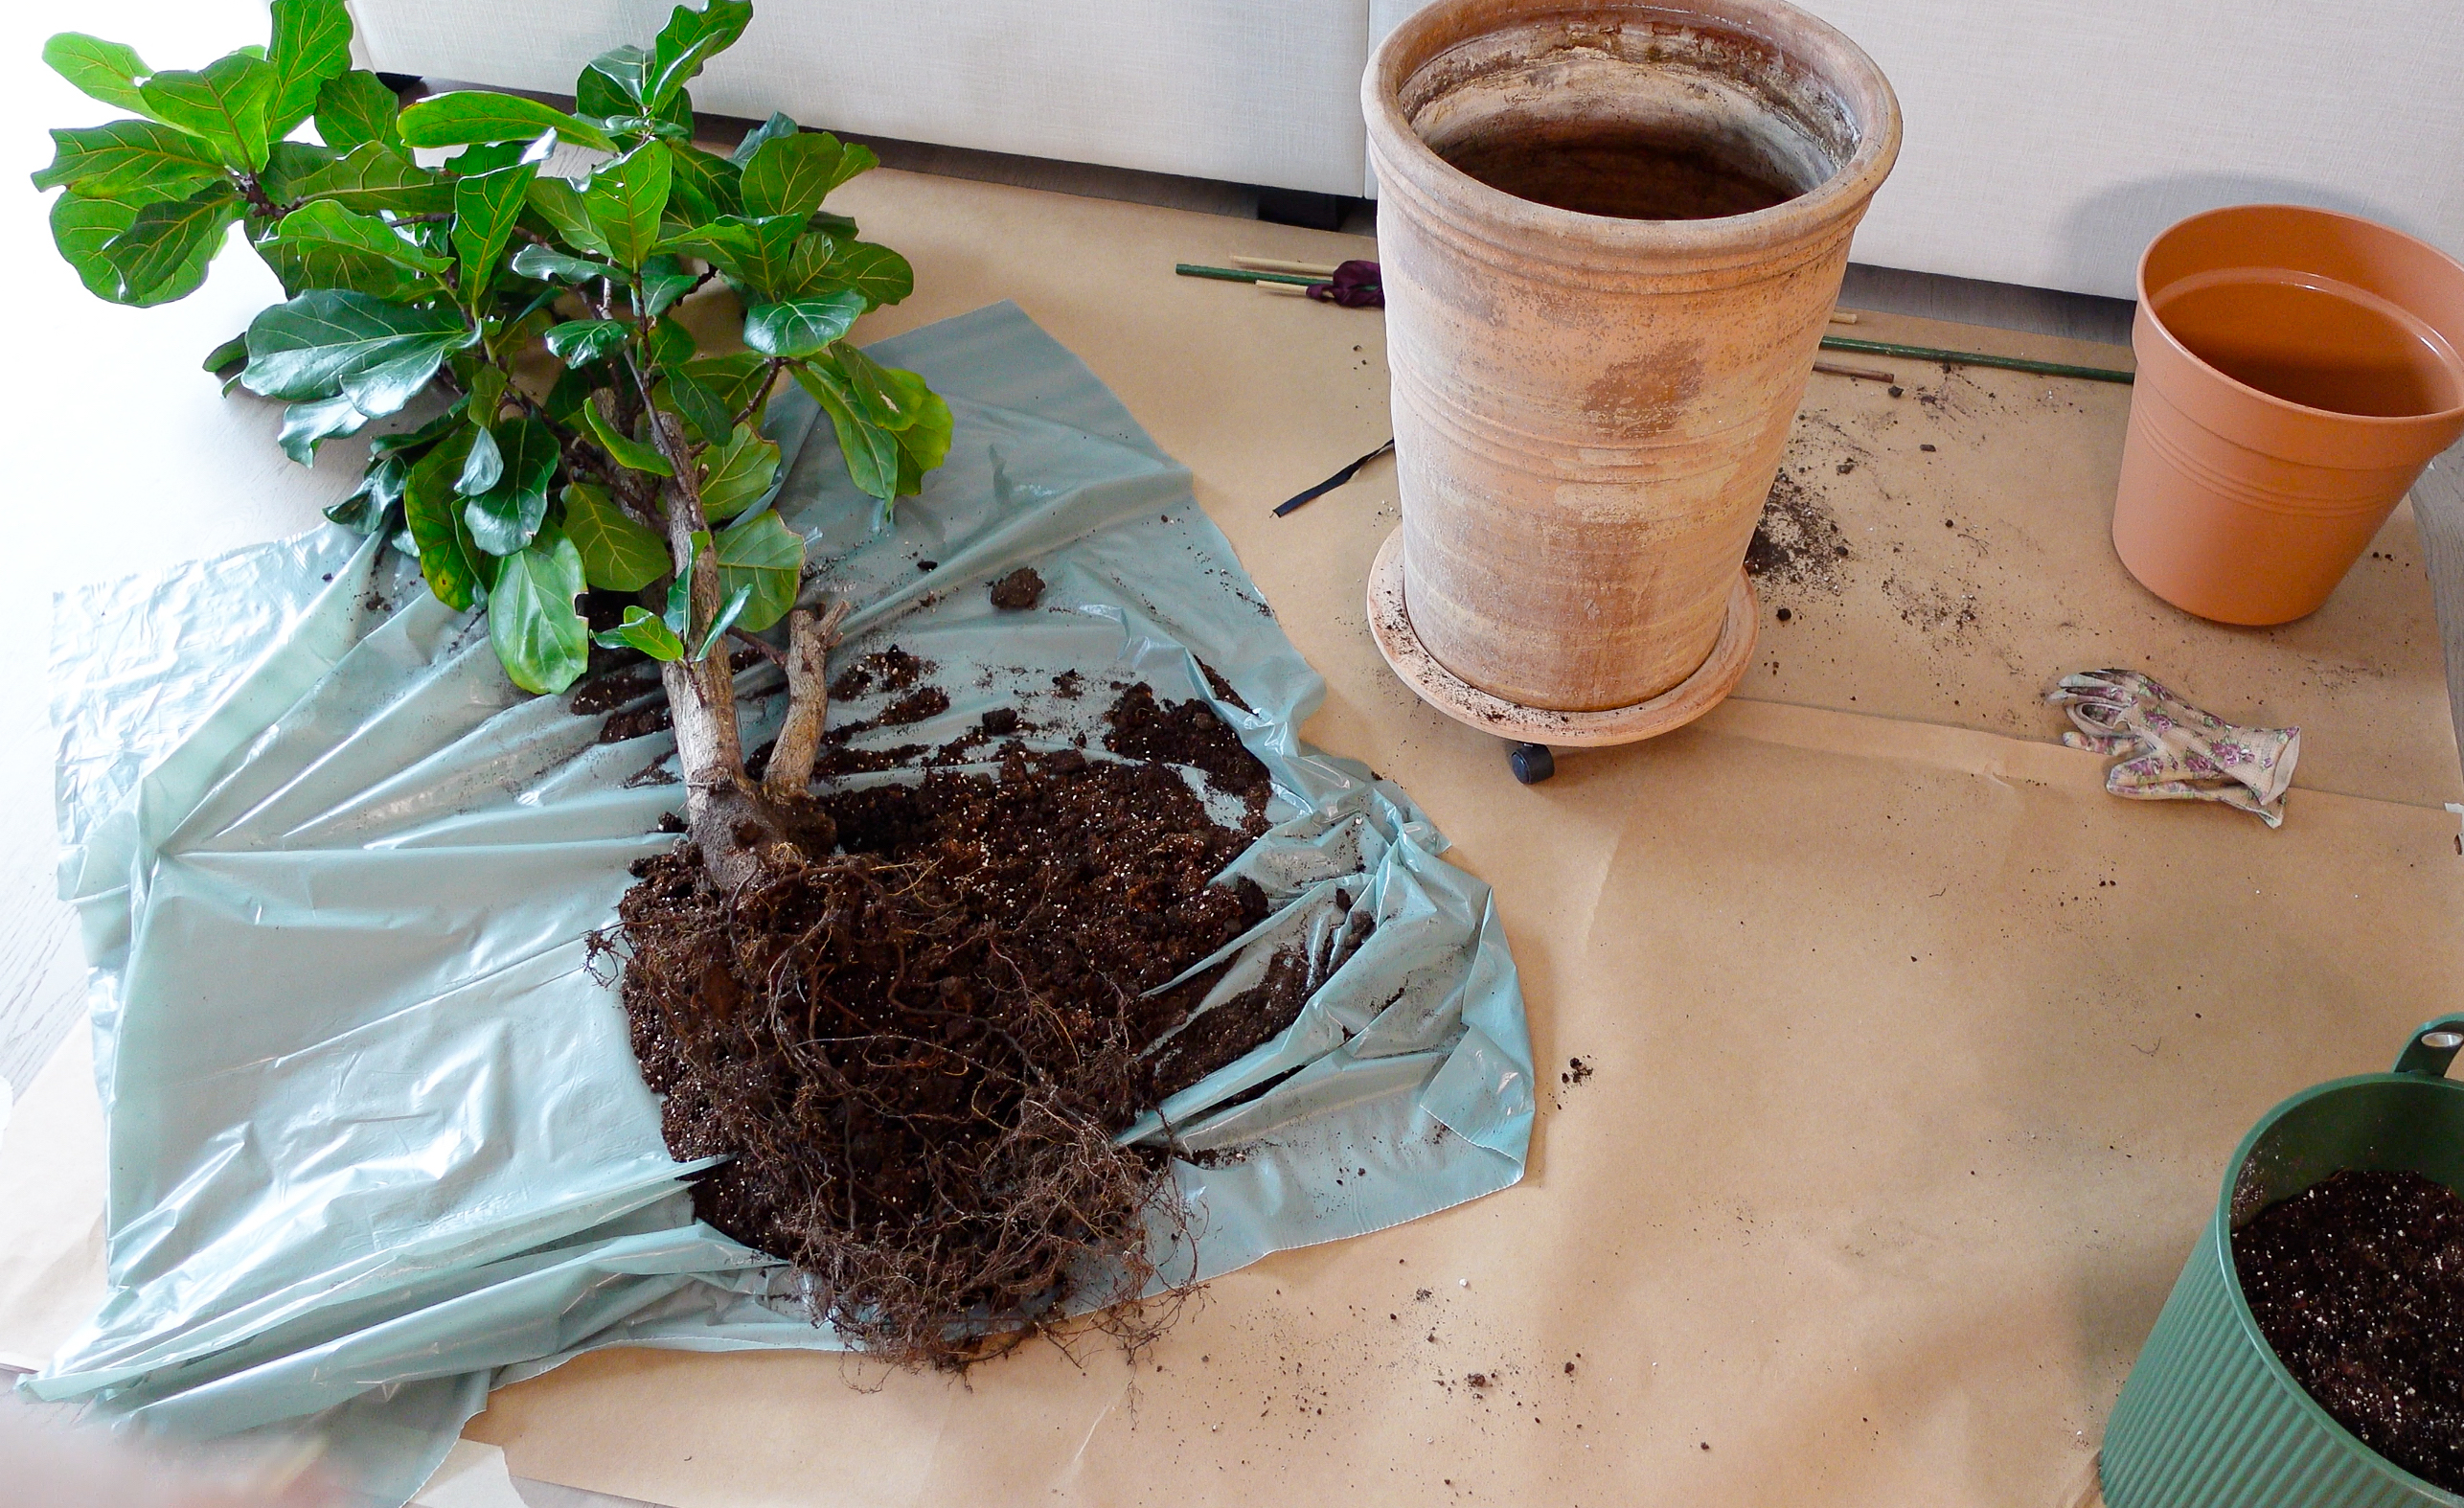
鉢から抜き出す 植物をそっとつかみ、幹や枝を引っ張らないように抜き出します。鉢が外れにくい場合は、小さなナイフで鉢の端から土を切り落とします。または、鉢の縁を軽くたたくと抜けやすくなります。
根を剪定する 死んでいたり、カビが生えていたり、腐ったように見える根をすべて取り除きます。土と根の両方が健康に見える場合は、植物にストレスを与えるので、根に触れないでください。太い根が巻き付いている場合は、指で緩めるか、切り離してください。同じ鉢を使用する場合は、植物から土を振り落とし、根の約25%を切り落とします。不要な根を切り落とすことで植物を健康に保ちます。
鉢をきれいにする きれいな鉢を使いましょう。鉢が汚れている場合は、石鹸で洗い、よくすすぎ、軽くたたいて乾かします。植物を植え替えるときに汚れた容器を使用すると、古い土にいる微生物が植物に感染する恐れがあります。
鉢の底に土を入れる 鉢の底に、正しい量の土を入れましょう(植物の生え際が鉢の縁から3〜4cm下にくるように調整します)。鉢の縁ギリギリまで土を入れてしまうと、水やりの際に土が上から溢れ出てしまいます。
植物を置く 土を加える前に、植物が鉢の中心にあることを確認します。
土を加える 植物の周りに土を加えます。指で軽くたたいて固くし、深く植えすぎないようにしましょう。
水をやる 鉢底の穴から流れ出るまで水を与えます。最近水やりをしたばかりの場合は、このステップは飛ばして、いつものタイミングで水やりをしましょう。
さらに土を加える 水やりをしたあとに、場合によってはさらに土を加える必要があります。根の周りに十分に土があるかどうか確かめましょう。
植え替え後
植え替えは植物にとってストレスがかかります。植物が完全に回復し、新しい環境に慣れるまで、約1か月かかります。
植物が新しい環境に慣れるまでの注意点:
植物を直射日光の当たらない明るい場所に置く。
同じタイミングで水やりをする。Plantaの指示に従いましょう。
肥料を与えない。新しい土は栄養分を豊富に含んでいます。肥料をさらに追加すると、すでにストレスがかかっている根に害を及ぼす恐れがあります。
Three options when considering repotting
Use a bigger pot
Good for plants that grow a lot and where the current pot has started to inhibit its growth.
Same pot, new soil
For plants that you don’t want to get any bigger.
Change the top layer of soil
For big plants that are too hard to repot. Remove the top layer of the old soil and add a new fresh one.
Recommended soil
This is how you repot your plant
Water the plant Water your plant to loosen up the soil from the pot.
Remove the pot Gently take hold of the plant and start to loosen the pot, avoiding pulling on the trunk or branches. If it’s hard to get the pot to come off, try to cut the soil loose from the edges of the pot with a small knife. You can also gently tap on the outside of the pot with a tool or on the bench.
Prune the roots Do a root control and remove anything that looks dead, moldy or rotten. If both the soil and the roots look healthy, avoid touching the root ball, as it causes stress to the plant. If there are thick roots that are coiled up, loosen these with your fingers or cut them off.
If you’re using the same pot again, shake the soil off from the plant and cut away about 25% of the roots. This will help the plant stay fresh and small enough to continue living in the same pot.
Choose the pot When picking out a new pot, think about using one that’s only slightly bigger than the last one. About 1”-2” larger is a good rule of thumb. If you pick a pot that's too large, there's a risk that the new soil won’t be able to dry up quickly enough between waterings, which might cause your plant to suffocate in the wet soil.
Clean the pot Make sure the new pot is clean from old soil. Wash it with soap, rinse well and pat dry. If you use a dirty container when repotting your plant, there’s a risk that microorganisms are alive in the old soil, which can infect your plant.
Pour soil in the bottom of the pot Add soil to the bottom of the pot. Make sure that you put down the right amount - the root ball should be placed a few inches under the edge of the pot - if you place it too high your pot will overflow when watering.
Put down the plant Place the plant on the soil and check that it’s centered before you start adding more soil.
Add soil Add soil around the plant: gently tap it with your fingers to make it firm and check that your plant is not planted deeper than it was before.
Water Water the plant until water starts to exit through the drainage holes. If your plant was watered close to the repotting you might skip this step and just stick to the schedule instead.
More soil? Sometimes you need to add more soil after watering the plant. Make sure that your plant has enough soil around its roots before you are done.

After repotting
Repotting is stressful for plants. It takes about one month before your plant is fully recovered and can start to enjoy the new and improved environment.
During this period make sure to
Place the plant in a bright, but sheltered place.
Water it but stick to the schedule if possible. Follow the instructions in Planta to get it right.
Don’t feed it. The new soil is filled with plant food, adding more can harm the already stressed out roots.