Istruzioni per la cura
Non sei sicuro che la tua pianta debba cambiare vaso? Ecco 4 segnali che te lo faranno sapere:
È traballante, pallida e ha smesso di crescere
Le radici hanno iniziato a crescere dai fori di drenaggio sul fondo
È pesante e cade facilmente
L'acqua scorre direttamente attraverso il vaso durante l'irrigazione, senza bagnare davvero il terreno
TRE OPZIONI DA CONSIDERARE IN CASO DI RINVASO
USA UN VASO PIÙ GRANDE Ottimo per piante che crescono molto e dove l'attuale vaso ha iniziato a inibirne la crescita.
STESSO VASO, TERRICCIO NUOVO Per piante che non vuoi far crescere.
CAMBIA LO STRATO SUPERIORE DEL SUOLO Per piante molto grandi per cui è difficile cambiare vaso. Rimuovi lo strato superiore del vecchio terriccio e aggiungine uno nuovo e fresco.
LA DIMENSIONE DEL VASO È IMPORTANTE
Quando scegli un nuovo vaso, pensa di usarne uno che è solo leggermente più grande dell'ultimo. Circa 1"-2" più grande è una buona regola pratica. Se scegli un vaso troppo grande, c'è il rischio che il nuovo terreno non sia in grado di asciugarsi abbastanza velocemente tra un'annaffiatura e l'altra, il che potrebbe far soffocare la tua pianta nel terreno umido.
SUOLO CONSIGLIATO
Metti la pianta in un vaso più grande di 1"-2".
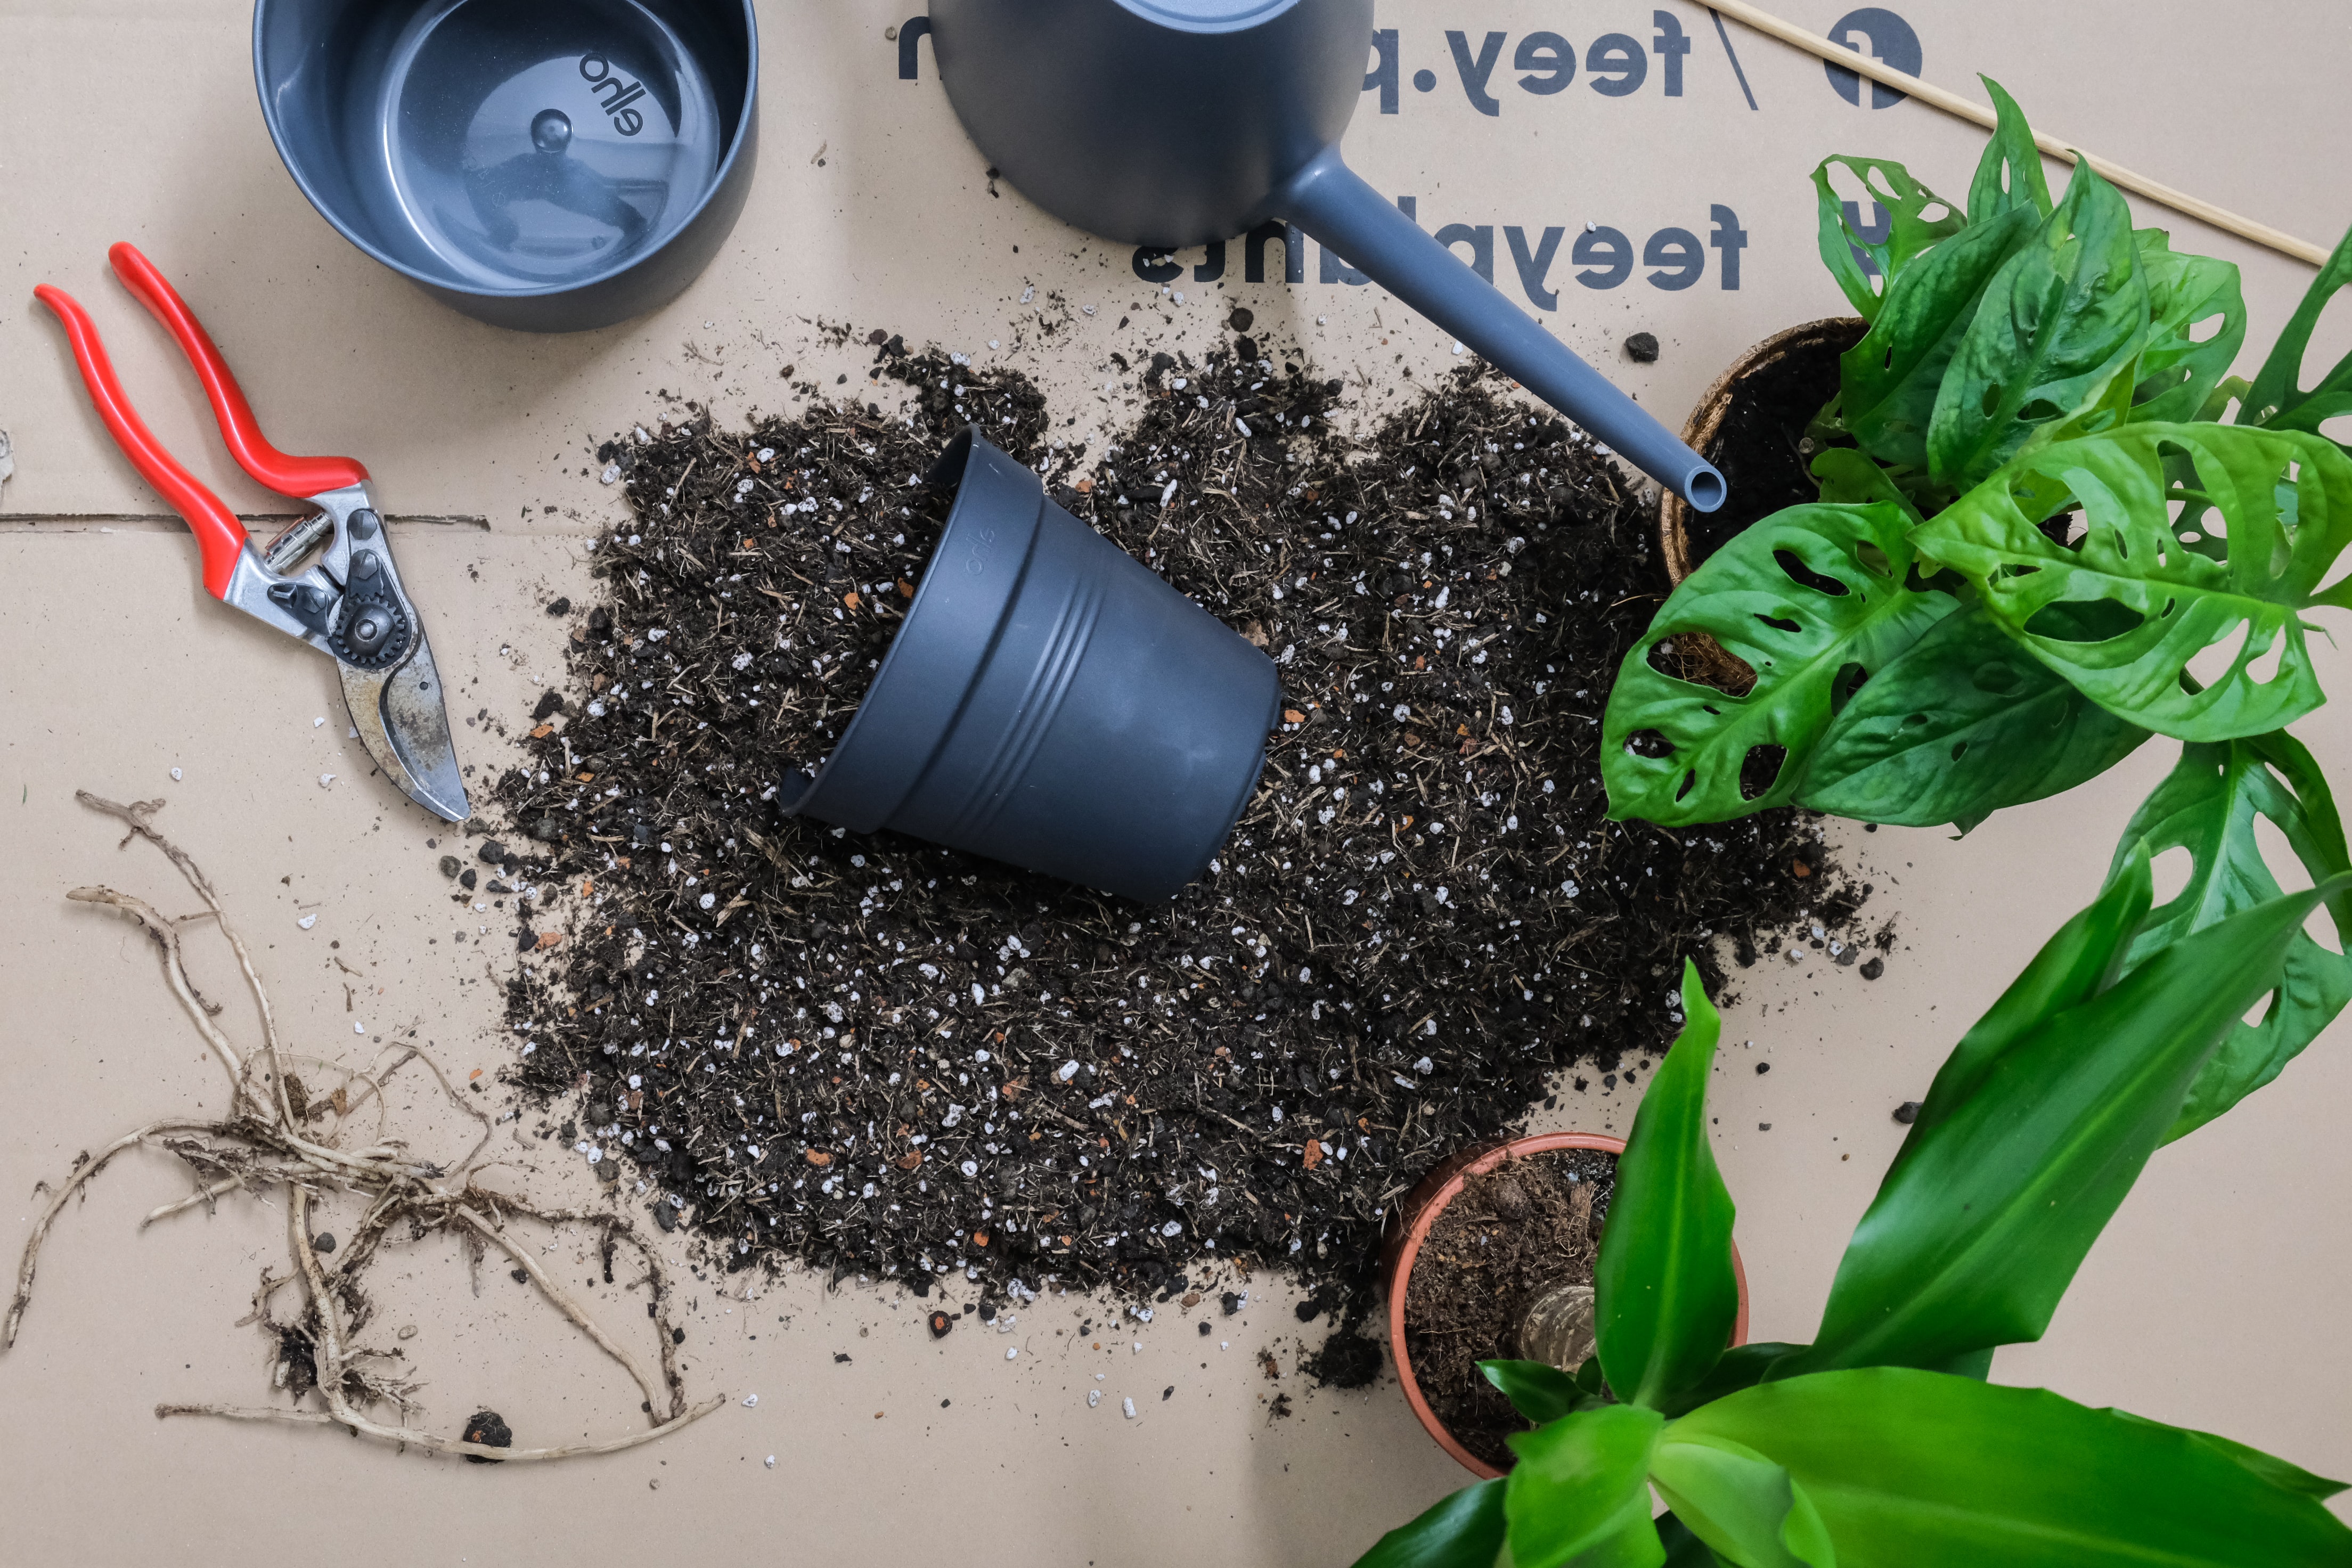
ECCO COME RINVASARE LA TUA PIANTA
Innaffia la pianta Innaffia la tua pianta per sciogliere il terreno dal vaso.
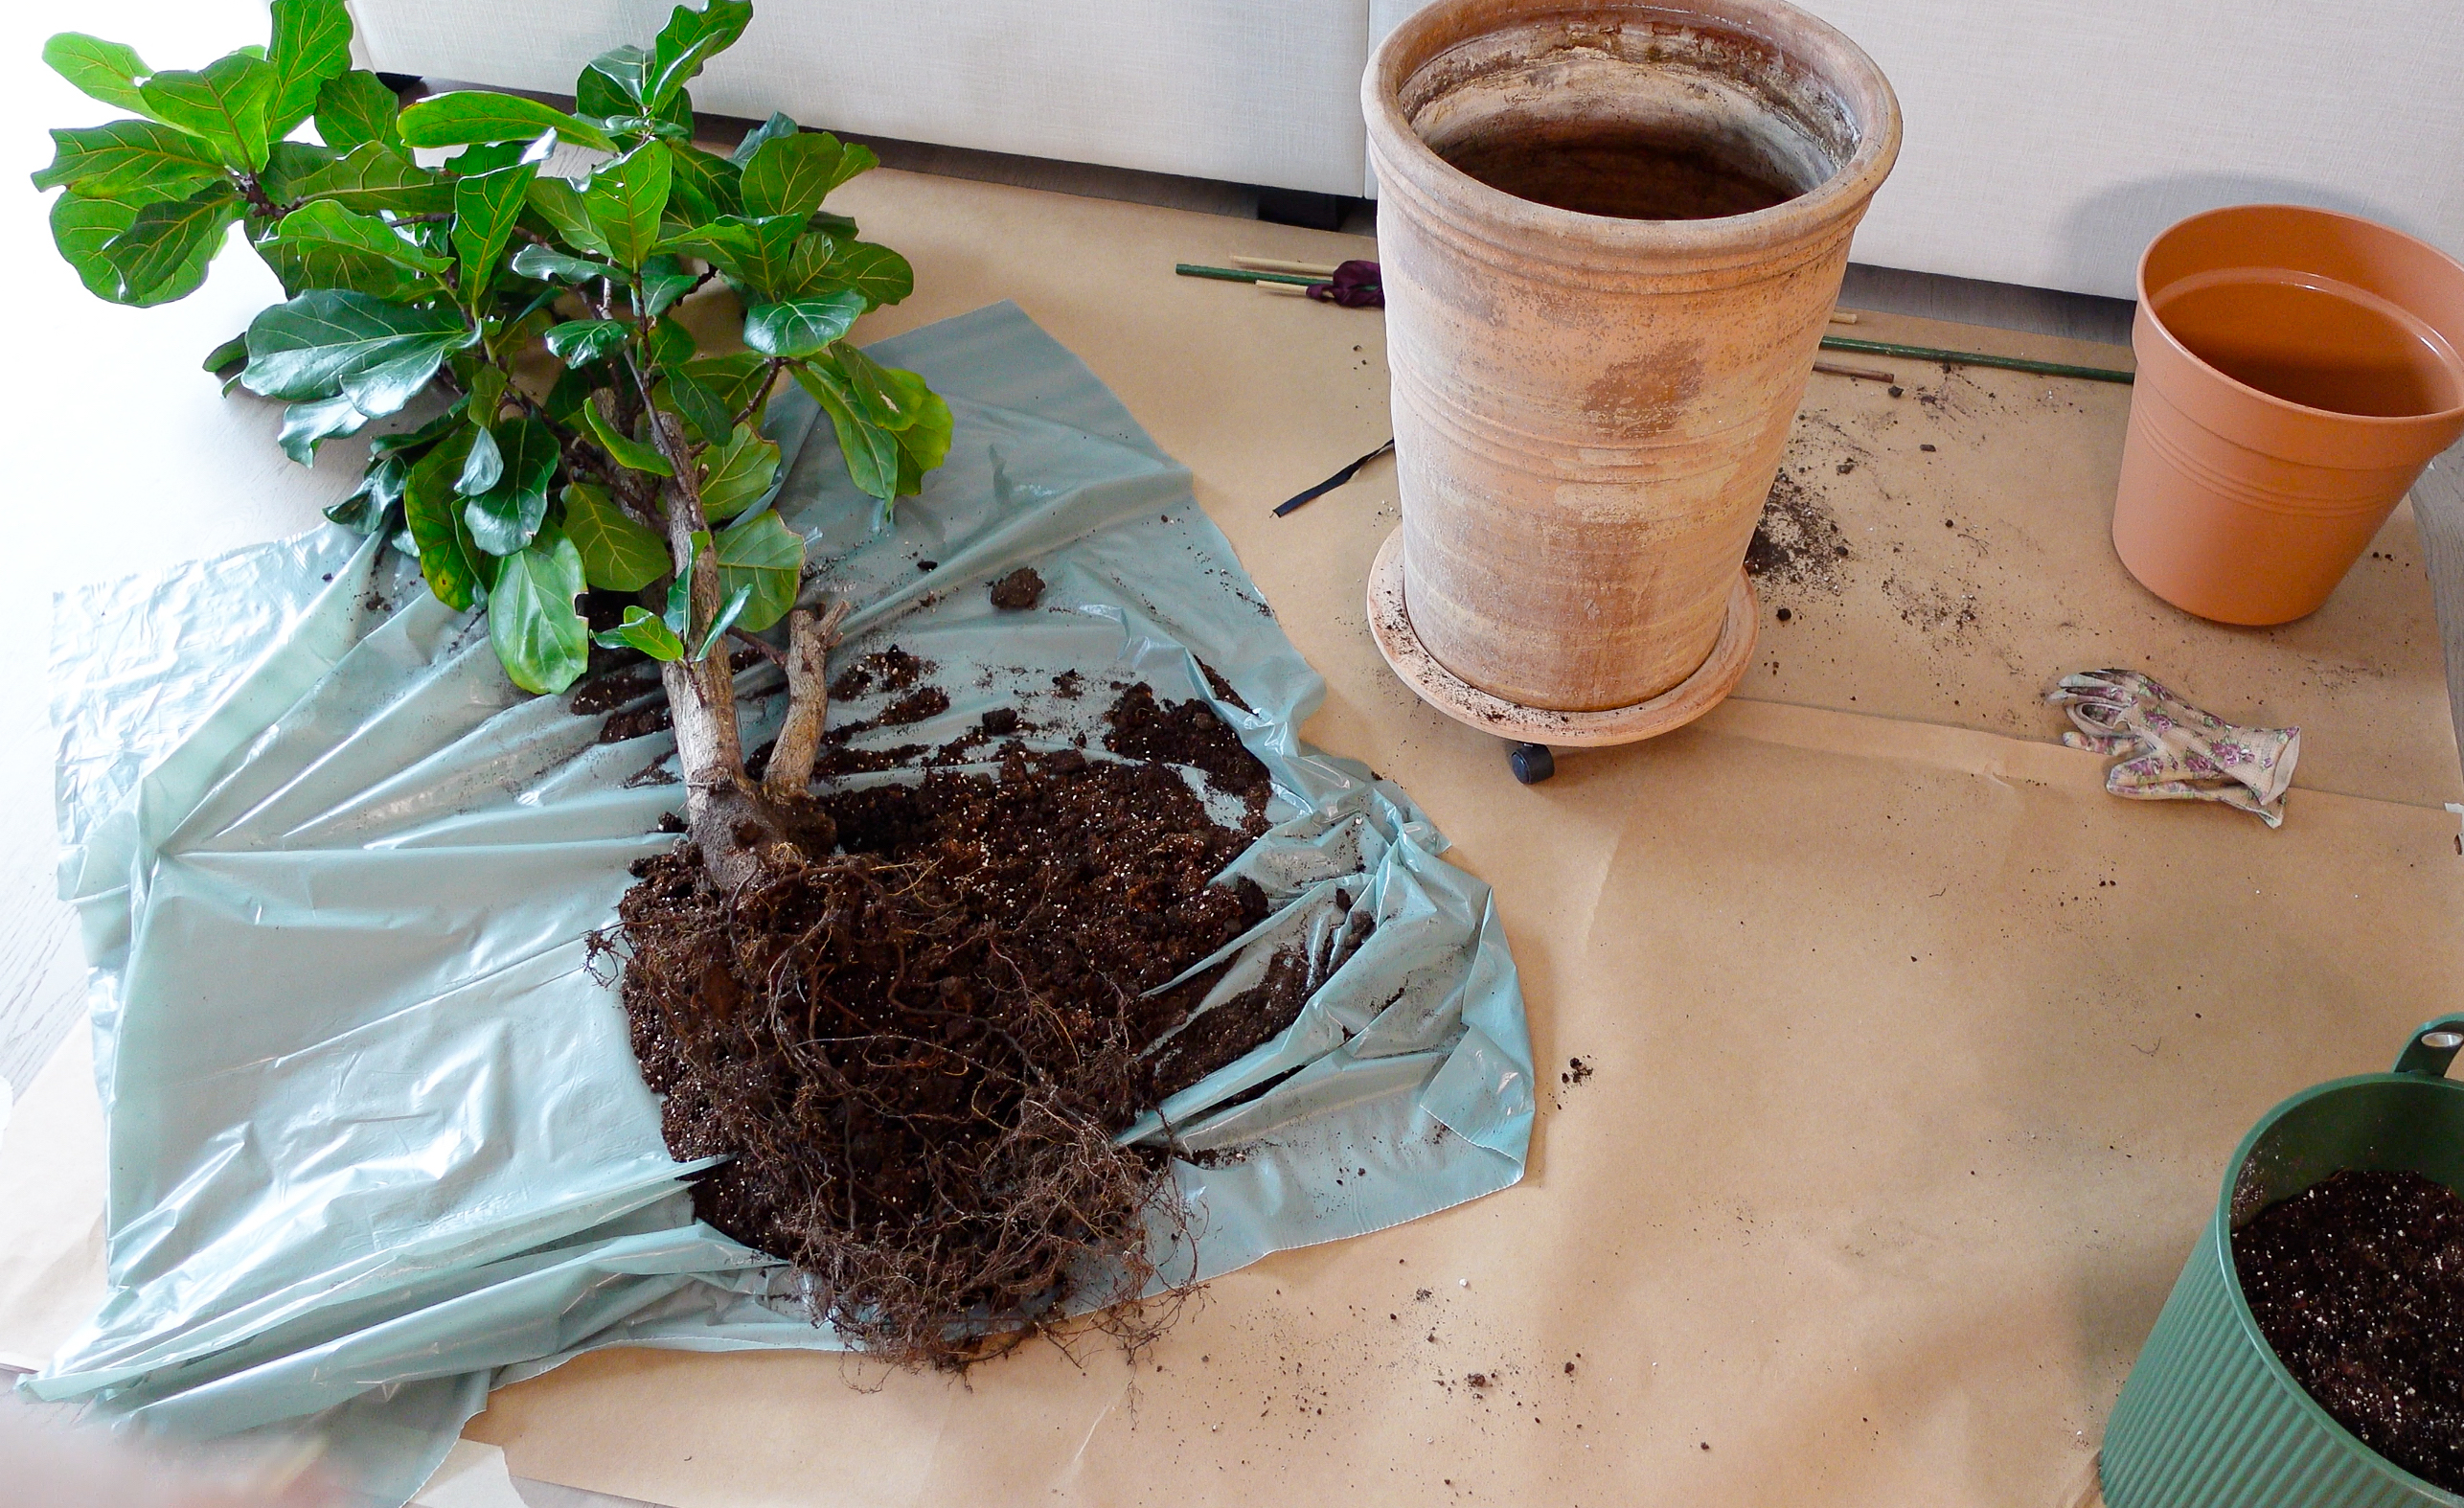
Rimuovi il vaso Afferra delicatamente la pianta e inizia ad allentare il vaso, evitando di tirare il tronco o i rami. Se è difficile far staccare il vaso, prova a tagliare il terreno perduto dai bordi del vaso con un coltellino. Puoi anche picchiettare delicatamente sulla parte esterna del vaso con uno strumento o sulla panca.
Pota le radici Esegui un controllo delle radici e rimuovi tutto ciò che sembra morto, ammuffito o marcio. Se sia il terreno che le radici sembrano sani, evita di toccare la zolla, poiché causa stress alla pianta. Se ci sono radici spesse che sono arrotolate, allentale con le dita o tagliale. Se usi di nuovo lo stesso vaso, scuoti via il terreno dalla pianta e taglia circa il 25% delle radici. Questo aiuterà la pianta a rimanere fresca e abbastanza piccola da continuare a vivere nello stesso vaso.
Pulisci il vaso Assicurati che il nuovo vaso sia pulito dal vecchio terriccio. Lavalo con sapone, risciacqua bene e asciugalo tamponando. Se usi un contenitore sporco come nuovo vaso per la tua pianta, c'è il rischio che i microrganismi siano vivi nel vecchio terreno, che possono infettare la tua pianta.
Versa la terra sul fondo del vaso Aggiungi terra sul fondo del vaso. Assicurati di mettere la giusta quantità - la zolla dovrebbe essere posizionata a pochi centimetri sotto il bordo del vaso - se lo metti troppo in alto, il vaso traboccherà durante l'irrigazione.
Metti giù la pianta Posiziona la pianta sul terreno e controlla che sia centrata prima di iniziare ad aggiungere altro terriccio.
Aggiungi la terra Aggiungi la terra intorno alla pianta: picchiettala delicatamente con le dita per renderla ferma e controlla che la tua pianta non sia piantata più in profondità di prima.
Annaffia Innaffia la pianta finché l'acqua non inizia a uscire dai fori di drenaggio.
Più terriccio? A volte è necessario aggiungere altro terriccio dopo aver annaffiato la pianta. Assicurati che la tua pianta abbia abbastanza terriccio attorno alle sue radici prima di aver finito.
DOPO IL RINVASO
Il cambio di vaso è stressante per le piante. Ci vuole circa un mese prima che la tua pianta sia completamente ripristinata e possa iniziare a godersi l'ambiente nuovo e migliorato. Durante questo periodo assicurati di:
Posizionare la pianta in un luogo luminoso ma riparato. Evitare la luce solare diretta.
Innaffiarla. Segui le istruzioni in Planta per farlo bene.
Non darle da mangiare. Il nuovo terriccio è pieno di fertilizzante vegetale, aggiungerne altro può danneggiare le radici già stressate.
Three options when considering repotting
Use a bigger pot
Good for plants that grow a lot and where the current pot has started to inhibit its growth.
Same pot, new soil
For plants that you don’t want to get any bigger.
Change the top layer of soil
For big plants that are too hard to repot. Remove the top layer of the old soil and add a new fresh one.
Recommended soil
This is how you repot your plant
Water the plant Water your plant to loosen up the soil from the pot.
Remove the pot Gently take hold of the plant and start to loosen the pot, avoiding pulling on the trunk or branches. If it’s hard to get the pot to come off, try to cut the soil loose from the edges of the pot with a small knife. You can also gently tap on the outside of the pot with a tool or on the bench.
Prune the roots Do a root control and remove anything that looks dead, moldy or rotten. If both the soil and the roots look healthy, avoid touching the root ball, as it causes stress to the plant. If there are thick roots that are coiled up, loosen these with your fingers or cut them off.
If you’re using the same pot again, shake the soil off from the plant and cut away about 25% of the roots. This will help the plant stay fresh and small enough to continue living in the same pot.
Choose the pot When picking out a new pot, think about using one that’s only slightly bigger than the last one. About 1”-2” larger is a good rule of thumb. If you pick a pot that's too large, there's a risk that the new soil won’t be able to dry up quickly enough between waterings, which might cause your plant to suffocate in the wet soil.
Clean the pot Make sure the new pot is clean from old soil. Wash it with soap, rinse well and pat dry. If you use a dirty container when repotting your plant, there’s a risk that microorganisms are alive in the old soil, which can infect your plant.
Pour soil in the bottom of the pot Add soil to the bottom of the pot. Make sure that you put down the right amount - the root ball should be placed a few inches under the edge of the pot - if you place it too high your pot will overflow when watering.
Put down the plant Place the plant on the soil and check that it’s centered before you start adding more soil.
Add soil Add soil around the plant: gently tap it with your fingers to make it firm and check that your plant is not planted deeper than it was before.
Water Water the plant until water starts to exit through the drainage holes. If your plant was watered close to the repotting you might skip this step and just stick to the schedule instead.
More soil? Sometimes you need to add more soil after watering the plant. Make sure that your plant has enough soil around its roots before you are done.

After repotting
Repotting is stressful for plants. It takes about one month before your plant is fully recovered and can start to enjoy the new and improved environment.
During this period make sure to
Place the plant in a bright, but sheltered place.
Water it but stick to the schedule if possible. Follow the instructions in Planta to get it right.
Don’t feed it. The new soil is filled with plant food, adding more can harm the already stressed out roots.