Plejevejledning
Er du ikke sikker på, om din plante skal ompottes? Her er fire tegn, som du bør holde øje med:
Planten vakler, er bleg og har stoppet med at vokse
Rødderne er begyndt at vokse ud af dræningshullerne i bunden
Planten er tung og falder let sammen
Vand løber direkte gennem potten når planten vandes - uden at jorden rigtig bliver våd
TRE LØSNINGER DER BØR OVERVEJES VED OMPOTNING
BRUG EN STØRRE KRUKKE Ideelt for planter der vokser meget og hvor den nuværende krukke forhindrer plantens vækst. SAMME KRUKKE, NY JORD For planter, som du ikke ønsker skal vokse sig større. SKIFT JORDENS ØVERSTE LAG For store planter der er for svære at ompotte. Fjern det øverste lag af den gamle jord og tilføj et friskt lag.
KRUKKENS STØRRELSE ER VIGTIG
Når du vælger en ny krukke eller potte, er det vigtigt, at du vælger en, der kun er en anelse større. 2-5 centimeter større anbefales oftest. Hvis du vælger en for stor krukke, er der risiko for, at den nye jord ikke er i stand til at tørre hurtigt nok mellem vandingerne, hvilket kan resultere i, at din plante drukner i den våde jord.
ANBEFALET JORD
Ompot planten i en krukke, der er 2-5 centimeter større.
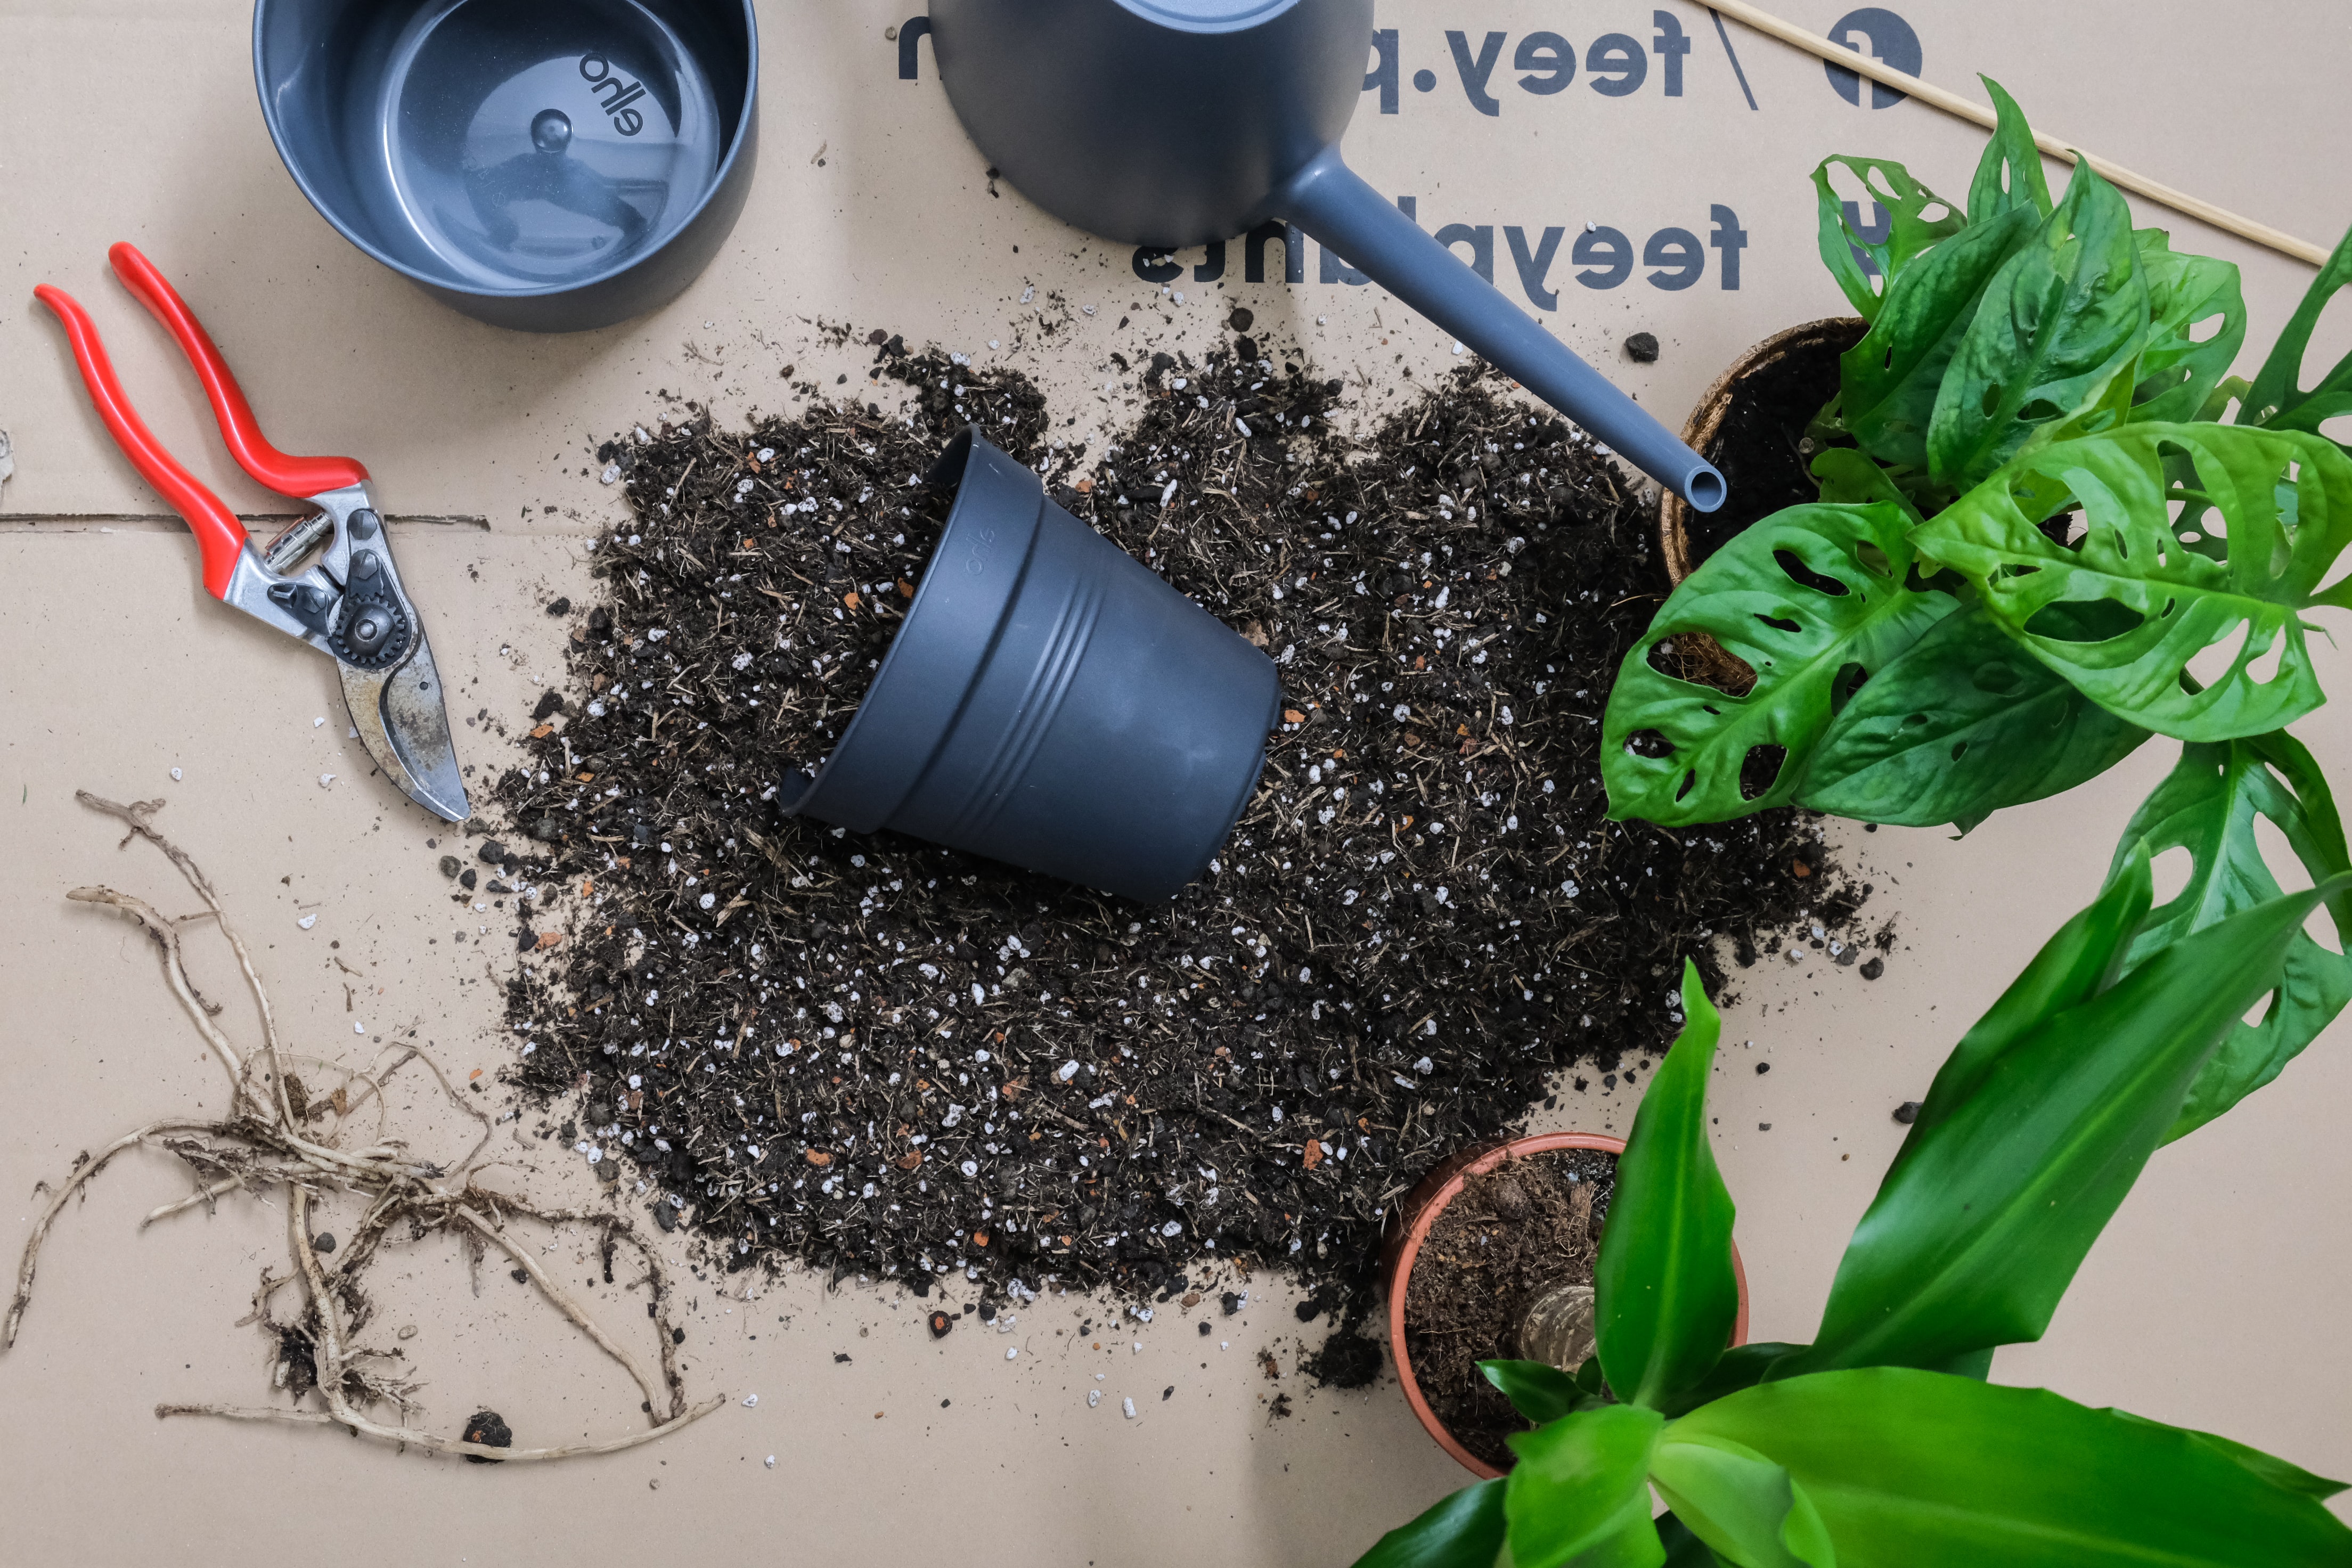
SÅDAN OMPOTTER DU DIN PLANTE
Vand planten Vand din plante for at løsne jorden fra krukken.
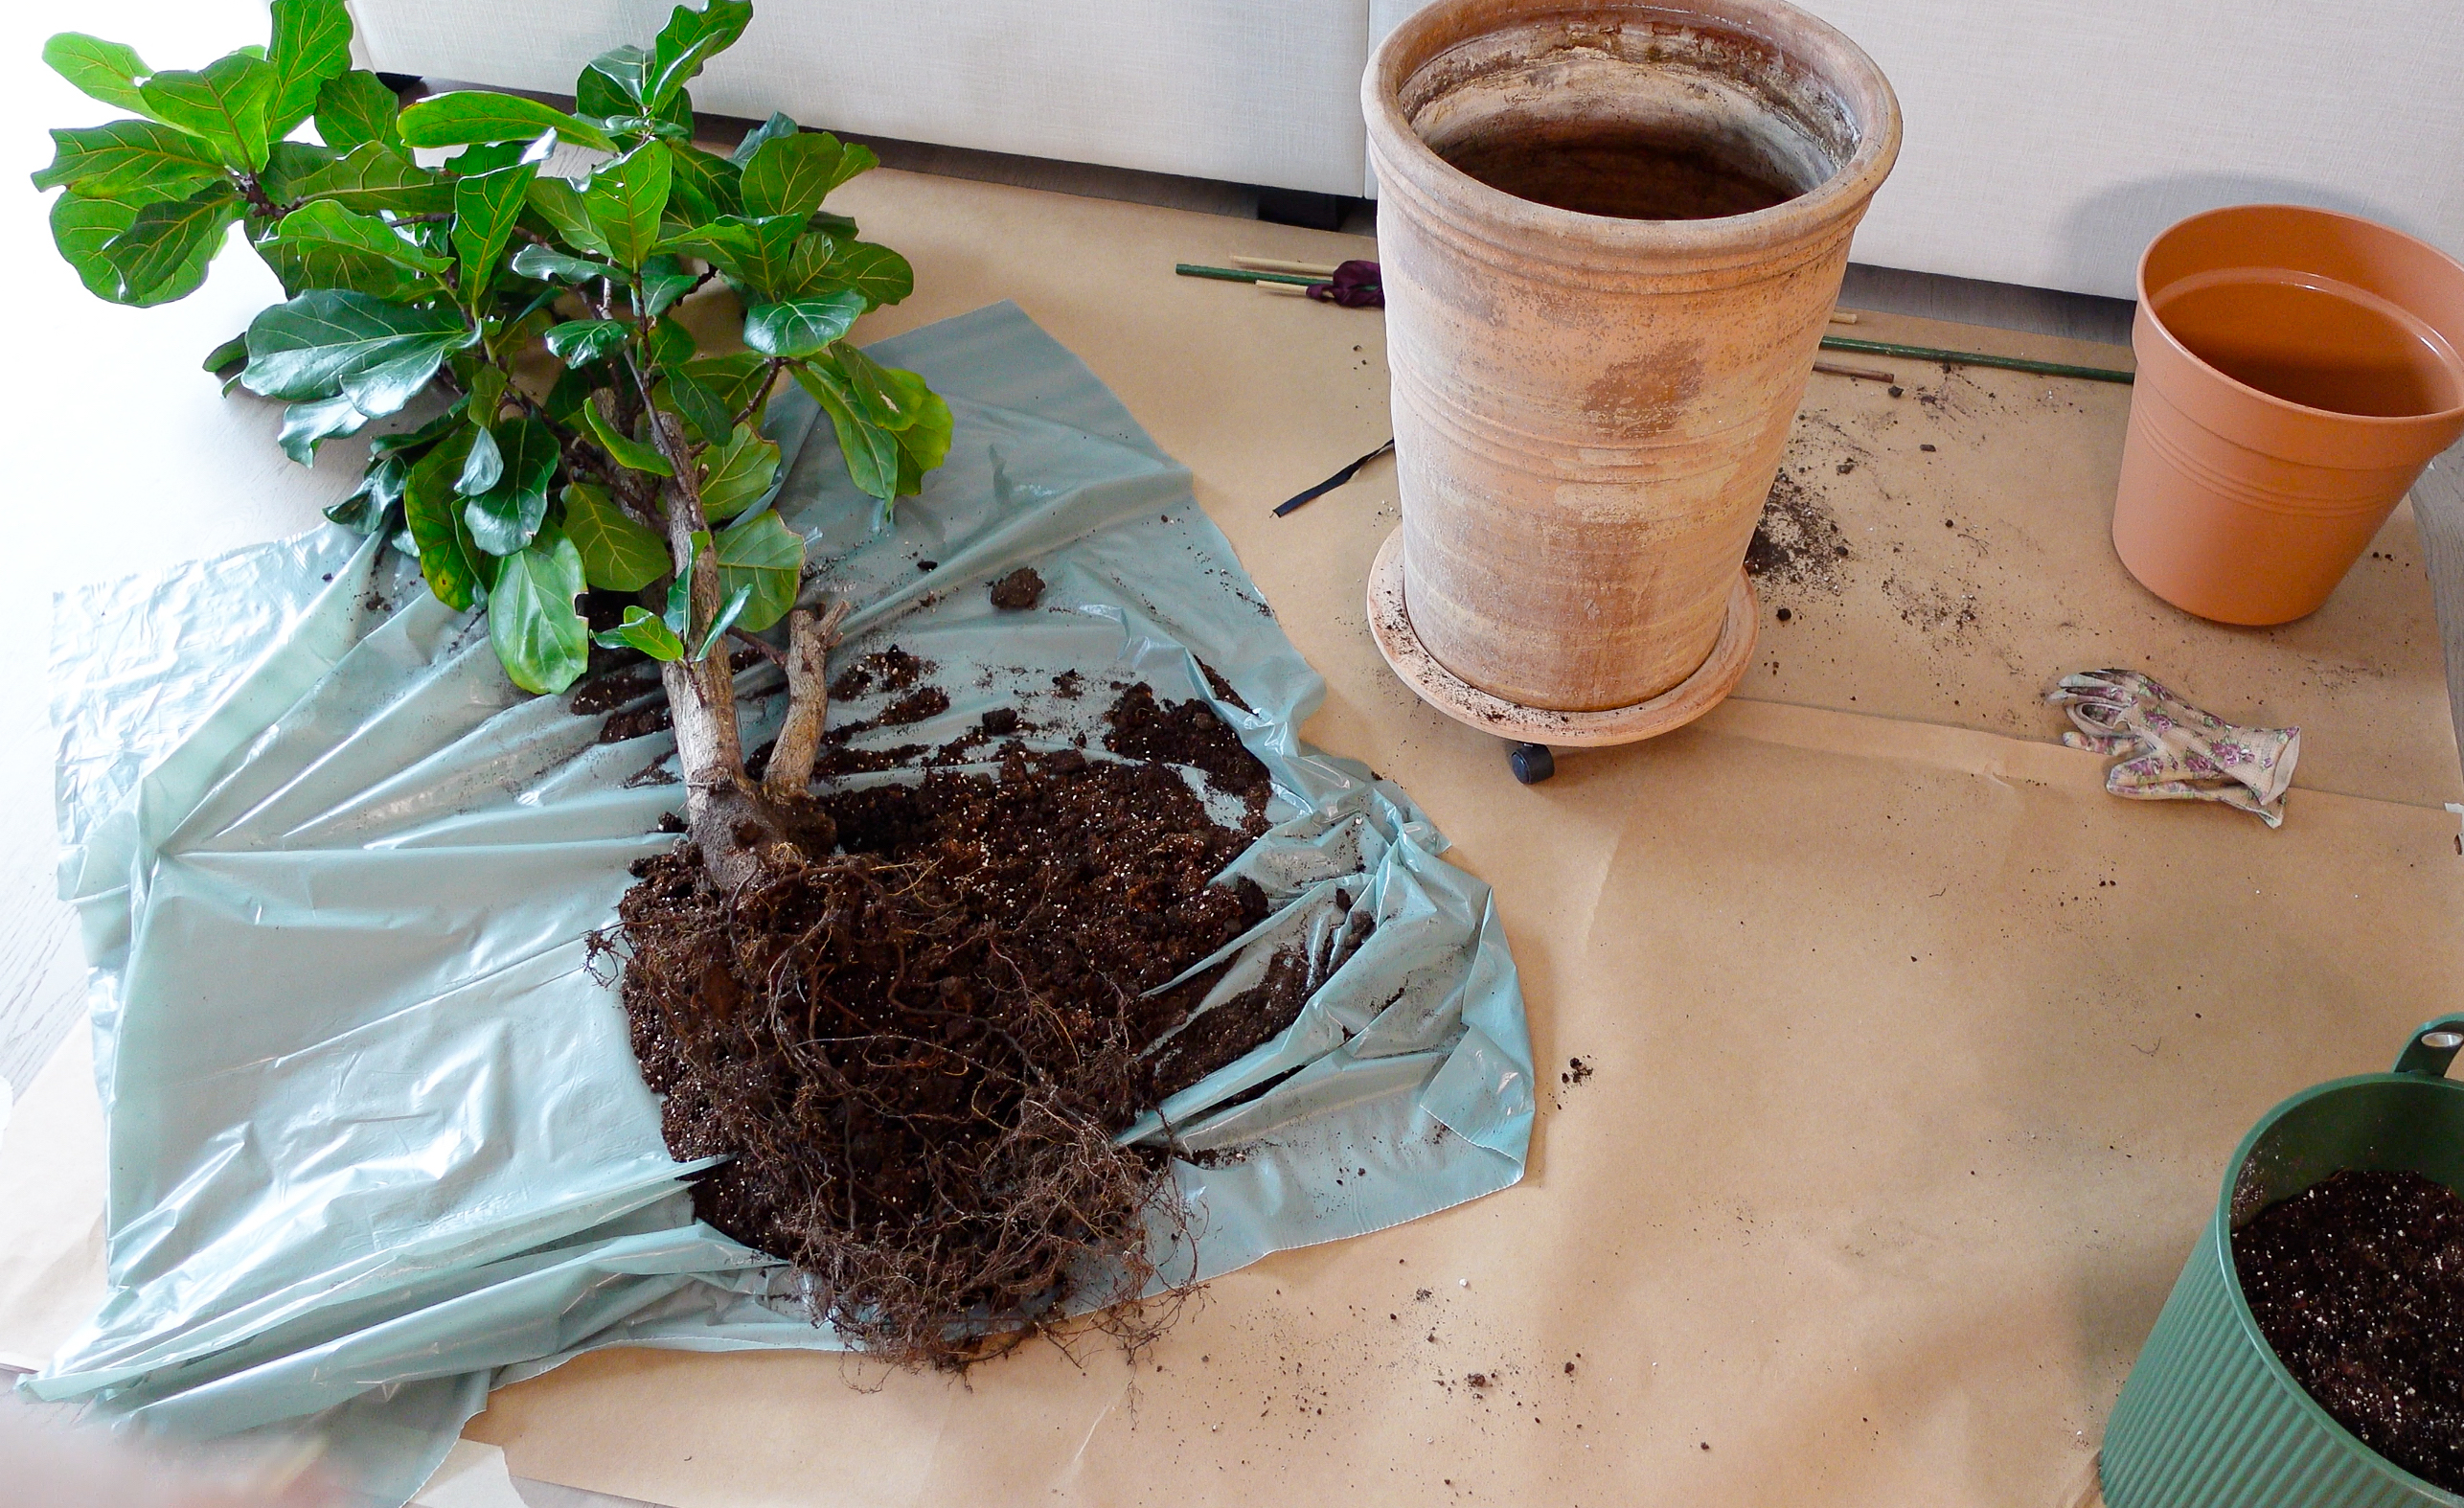
Fjern krukken Tag forsigtigt fat om planten for at løsne den fra krukken. Undgå at hive den op fra roden eller fra grenene. Hvis det er svært at løsne planten, prøv da at skovle noget jord fri fra kanterne af krukken med en lille kniv. Du kan også forsigtigt banke på krukkens yderside med et redskab.
Beskær rødderne Tjek plantens rødder og fjern alt, som ser dødt eller råddent ud. Hvis både jorden og rødderne ser sunde ud, undgå da kontakt med roden, da det kan stresse planten. Hvis der er tunge rødder der har viklet sig sammen kan du løsne disse med dine fingre eller skære dem af. Hvis du skal bruge samme krukke igen, kan du ryste overflødigt jord af fra planten og afskære 25% af rødderne. Dette hjælper planten med at holde sig frisk og lille nok til at kunne blive ved med at trives i samme krukke.
Rengør krukken Sørg for at den nye krukke ikke indeholder rester af gammel jord. Vask den med sæbe, skyl grundigt efter og tør den. Hvis du bruger en beskidt opbevaringskrukke når du ompotter din plante, er der risiko for at mikroorganismer lever i den gamle jord, hvilket kan inficere din plante.
Hæld jord i krukkens bund Tilføj jord til krukkens bund. Sørg for at du hælder den korrekte mængde i - rødderne bør være placeret et par centimeter under krukkens kant. Hvis du placerer dem for højt, kan du risikere, at din krukke flyder over med vand når du vander.
Placer din plante i krukken Placer din plante i jorden og sørg for at den er centreret, før at du tilføjer mere jord.
Tilføj jord Tilføj forsigtigt jord omkring planten: brug dine fingre til at sikre, at planten sidder fast og tjek, at planten ikke er plantet dybere end tidligere.
Giv vand Vand planten indtil at vandet begynder at løbe ud af dræningshullerne.
Mere jord? Nogle gange skal du tilføje mere jord efter at planten er vandet. Sørg for at planten har nok jord rundt om rødderne inden at du afslutter processen.
Three options when considering repotting
Use a bigger pot
Good for plants that grow a lot and where the current pot has started to inhibit its growth.
Same pot, new soil
For plants that you don’t want to get any bigger.
Change the top layer of soil
For big plants that are too hard to repot. Remove the top layer of the old soil and add a new fresh one.
Recommended soil
This is how you repot your plant
Water the plant Water your plant to loosen up the soil from the pot.
Remove the pot Gently take hold of the plant and start to loosen the pot, avoiding pulling on the trunk or branches. If it’s hard to get the pot to come off, try to cut the soil loose from the edges of the pot with a small knife. You can also gently tap on the outside of the pot with a tool or on the bench.
Prune the roots Do a root control and remove anything that looks dead, moldy or rotten. If both the soil and the roots look healthy, avoid touching the root ball, as it causes stress to the plant. If there are thick roots that are coiled up, loosen these with your fingers or cut them off.
If you’re using the same pot again, shake the soil off from the plant and cut away about 25% of the roots. This will help the plant stay fresh and small enough to continue living in the same pot.
Choose the pot When picking out a new pot, think about using one that’s only slightly bigger than the last one. About 1”-2” larger is a good rule of thumb. If you pick a pot that's too large, there's a risk that the new soil won’t be able to dry up quickly enough between waterings, which might cause your plant to suffocate in the wet soil.
Clean the pot Make sure the new pot is clean from old soil. Wash it with soap, rinse well and pat dry. If you use a dirty container when repotting your plant, there’s a risk that microorganisms are alive in the old soil, which can infect your plant.
Pour soil in the bottom of the pot Add soil to the bottom of the pot. Make sure that you put down the right amount - the root ball should be placed a few inches under the edge of the pot - if you place it too high your pot will overflow when watering.
Put down the plant Place the plant on the soil and check that it’s centered before you start adding more soil.
Add soil Add soil around the plant: gently tap it with your fingers to make it firm and check that your plant is not planted deeper than it was before.
Water Water the plant until water starts to exit through the drainage holes. If your plant was watered close to the repotting you might skip this step and just stick to the schedule instead.
More soil? Sometimes you need to add more soil after watering the plant. Make sure that your plant has enough soil around its roots before you are done.

After repotting
Repotting is stressful for plants. It takes about one month before your plant is fully recovered and can start to enjoy the new and improved environment.
During this period make sure to
Place the plant in a bright, but sheltered place.
Water it but stick to the schedule if possible. Follow the instructions in Planta to get it right.
Don’t feed it. The new soil is filled with plant food, adding more can harm the already stressed out roots.